The holiday season is a time for creativity, togetherness, and decorations! But rather than spending a fortune on store-bought décor, you can make unique, beautiful decorations from recycled materials like cardboard!
Cardboard is an incredibly versatile material, and it’s eco-friendly when reused instead of thrown away. In this blog post, we’ll go over several easy DIY holiday decoration ideas using recycled cardboard. Whether you’re decorating your home, classroom, or office, these ideas are a fun way to save money, reduce waste, and make the holidays memorable.
Why Cardboard is Perfect for Holiday Decorations
Before we get into the projects, let’s talk about why cardboard is such a great material for holiday decorations.
First, it’s easy to cut, shape, and glue, making it a flexible choice for a variety of projects.
Second, cardboard is sturdy, so your decorations will be able to last throughout the holiday season and can even be saved for next year. Plus, since you’re recycling something you might otherwise throw away, using cardboard for DIY décor is a great way to reduce waste.

1. Cardboard Christmas Trees
A DIY cardboard Christmas tree is a great addition to any holiday setup, especially if you’re tight on space or want a unique centerpiece.
Materials Needed:
- Cardboard boxes (large ones work best)
- Scissors or a craft knife
- Green paint or markers
- Hot glue gun (optional)
- Decorations like glitter, beads, or recycled paper
Instructions:
- Draw and Cut the Tree Shape: Start by drawing a basic tree shape on your cardboard. For a traditional look, try a triangle tree shape with branches at different angles. Cut out two identical pieces.
- Cut Slots for Assembly: Make a vertical cut halfway up one tree piece from the bottom. Then, make another slot halfway down the other tree piece from the top. Slide the two pieces together to form a standing tree.
- Decorate: Paint the tree green and add decorations like glitter, sequins, or beads. For a snowy effect, use white paint to add details to the branches.
- Display: Once dry, place your tree on a tabletop or shelf for a fun, festive look. You can even make a small forest by creating trees of different sizes.
2. Cardboard Snowflakes
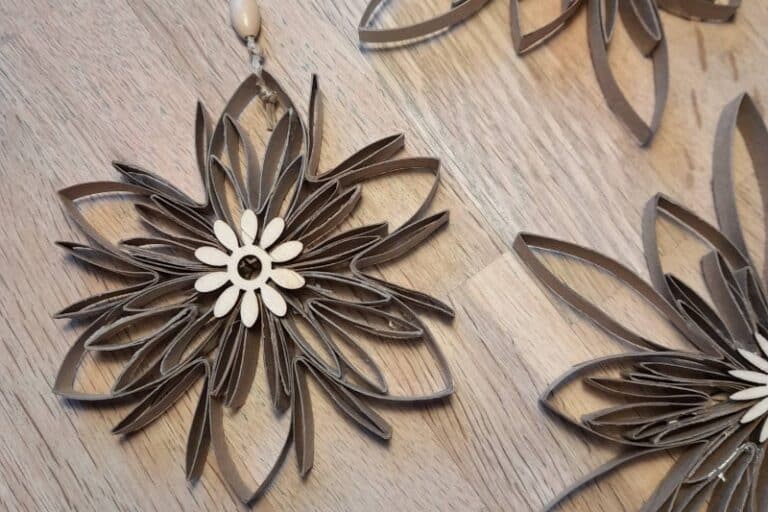
Cardboard snowflakes are beautiful, and no two need to look alike! They’re perfect for window displays or hanging from the ceiling.
Materials Needed:
- Cardboard (use thinner cardboard for easier cutting)
- Scissors or a craft knife
- White paint
- String or fishing line
- Glitter or silver paint (optional)
Instructions:
- Draw the Snowflake Shape: Start by drawing out a snowflake pattern. If drawing is challenging, search online for printable snowflake templates that you can trace onto the cardboard.
- Cut and Paint: Carefully cut out the snowflake shape and paint it white. Once it’s dry, add a bit of sparkle with glitter or silver paint.
- Attach String and Hang: Cut a piece of string or fishing line, attach it to the top of the snowflake, and hang it from the ceiling, in a window, or even on your tree.
3. Recycled Cardboard Wreath
A cardboard wreath is an easy way to make a holiday statement on your front door. It can be customized in countless ways to fit any holiday theme.
Materials Needed:
- Cardboard (preferably sturdy)
- Scissors or a craft knife
- Green paint or markers
- Hot glue gun
- Ribbons, bows, or other decorations
Instructions:
- Create the Base Shape: Draw a large circle on your cardboard for the wreath’s outer edge, then a smaller circle inside to make the ring shape. Cut out this ring carefully.
- Add Layers: Cut smaller pieces of cardboard into leaf or holly shapes, and glue them onto the base circle. These add texture and dimension to the wreath.
- Paint and Decorate: Paint the leaves green and add berries, pinecones, or small bows for decoration. To make it extra festive, add a larger bow at the top or bottom of the wreath.
- Hang It Up: Attach a piece of string or ribbon to the top, and hang your wreath on your door or wall.
4. Cardboard Gift Tags and Ornaments
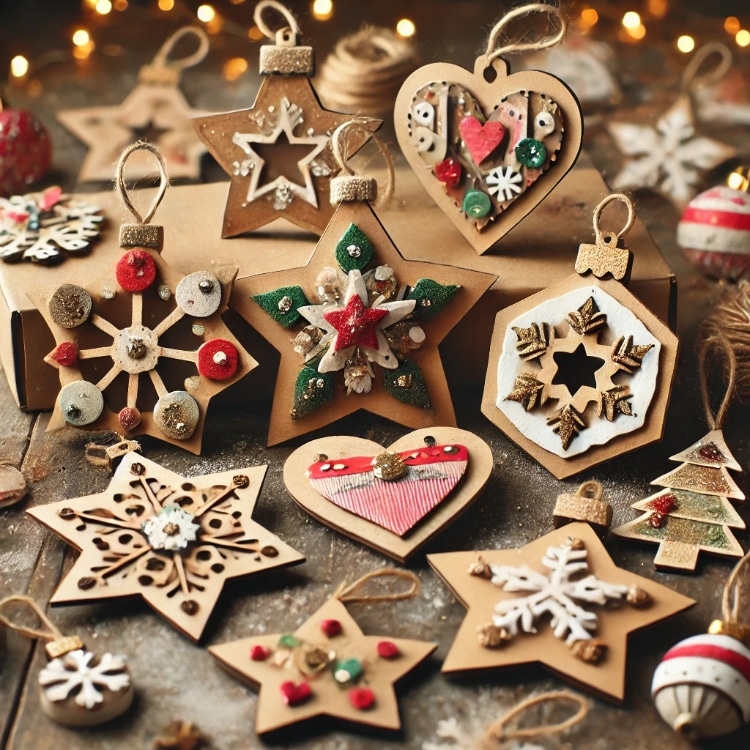
Make your own gift tags or ornaments from cardboard for a simple yet thoughtful touch. This project is great if you have smaller pieces of cardboard or leftover scraps from other projects.
Materials Needed:
- Cardboard (small pieces or scraps)
- Scissors
- Paint or markers
- String or ribbon
- Glitter or other embellishments (optional)
Instructions:
- Cut Out Shapes: Cut your cardboard into small shapes like circles, stars, or hearts. These can be used as ornaments or gift tags.
- Decorate: Paint the shapes, draw designs, or add messages with markers. You could also glue on small embellishments like glitter or tiny beads for extra sparkle.
- Attach String: Poke a small hole near the top of each shape and thread a piece of string or ribbon through it. Now you have unique ornaments for your tree or personalized gift tags for presents!
5. Cardboard Candle Holders
For a cozy holiday atmosphere, make cardboard candle holders. These are best for battery-operated candles since cardboard can catch fire with real flames.
Materials Needed:
- Cardboard tubes (from paper towels or toilet paper)
- Scissors
- Paint
- Glue
- Glitter or stickers (optional)
Instructions:
- Cut the Tube: Cut the cardboard tube to the desired height of your candle holder.
- Decorate: Paint the tube in holiday colors and add glitter or stickers if you’d like. You can also cut designs like stars or snowflakes into the tube to let the light shine through.
- Add the Candle: Place a battery-operated candle inside the tube. When the light shines through, it will create a cozy glow for the holidays.
6. Cardboard Reindeer
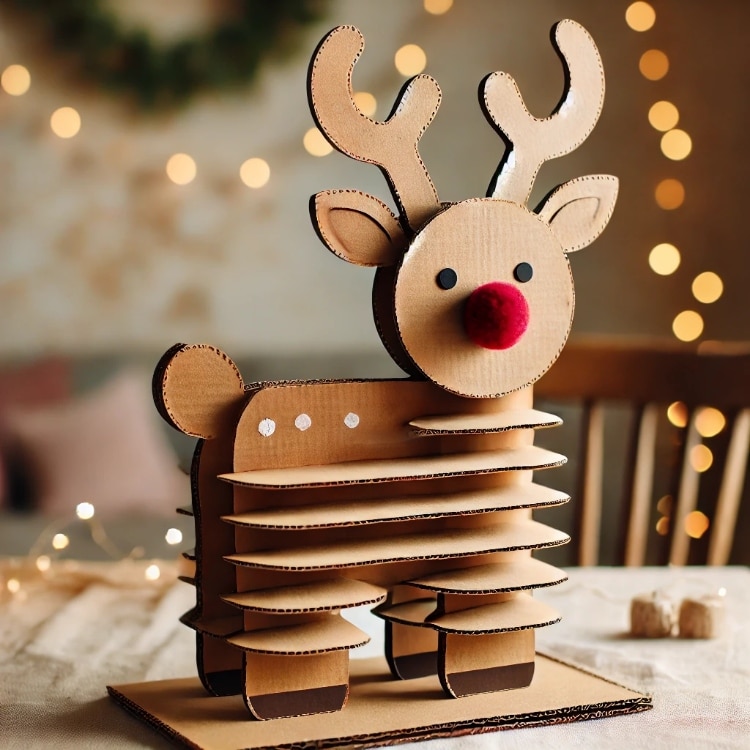
This project is a bit more challenging, but the results are worth it. A cardboard reindeer can serve as a fun and festive decoration for a tabletop or mantel.
Materials Needed:
- Cardboard (thicker cardboard works best)
- Scissors or a craft knife
- Brown paint or markers
- Hot glue
- Red pom-pom (optional for Rudolph’s nose)
Instructions:
- Draw and Cut the Reindeer Shape: Draw a basic reindeer shape (with antlers) on cardboard and cut out two pieces.
- Attach and Assemble: Create a slot halfway up one piece from the bottom and a matching slot in the other piece from the top. Slide them together to form a standing reindeer.
- Decorate: Paint the reindeer brown and add a red pom-pom for Rudolph’s nose if you’d like. You can even add a small scarf or ribbon around its neck.
- Display: Place your cardboard reindeer on a table, mantel, or even under the tree as a festive touch.
Wrapping Up
DIY holiday decorations made from recycled cardboard are a fun and meaningful way to add holiday cheer to your home. These decorations save you money, reduce waste, and are easy to make. Plus, making them can be a fun activity for family or friends.
Give these projects a try this holiday season and see how creative you can get with just a little bit of cardboard and imagination. Enjoy crafting, and happy holidays!
